
Lately, sữa chua (Vietnamese yogurt) has become many people’s go-to choice for breakfast or mid-day snacks, thanks to its delightful flavor. Step into a random Vietnamese shop in Little Saigon, and you’re very likely to find this treat sold in small plastic jars.
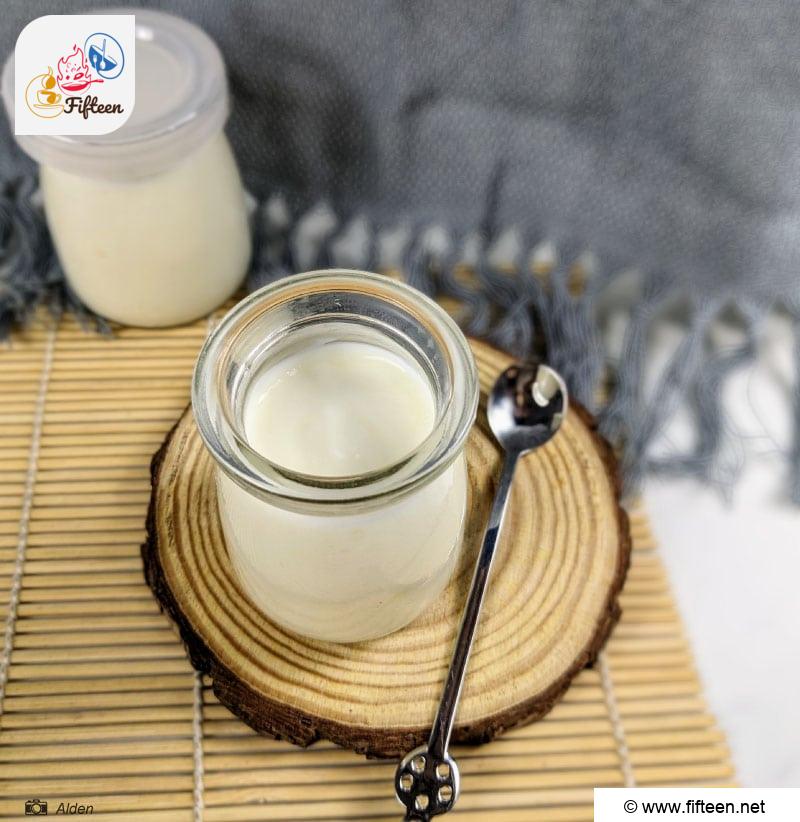
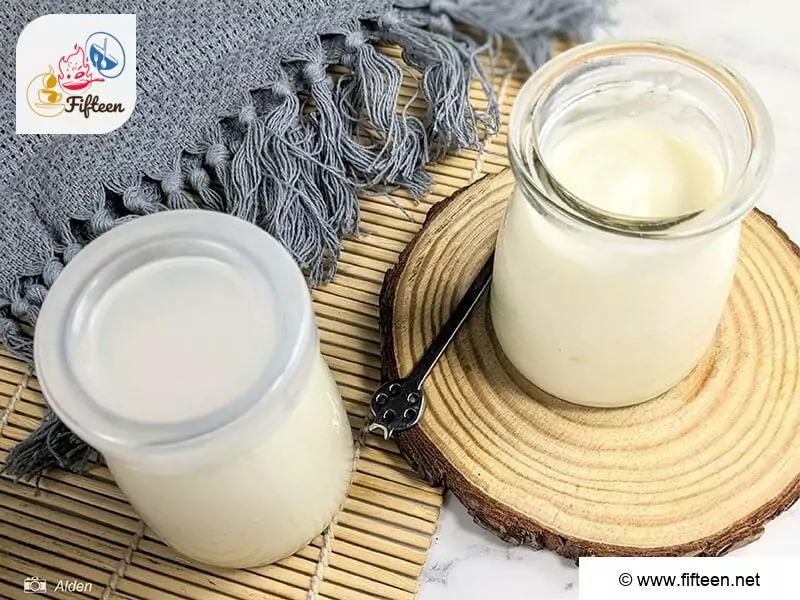
With a creamy consistency and a balanced sweet-tart taste, sữa chua is also an immaculate choice whenever you crave a health-giving dessert. More importantly, you can easily make this Vietnamese at home! Scroll down to learn an effortless and cheap sữa chua recipe!
Sữa Chua – A Yummy Source Of Probiotics
The yogurt first came to Vietnam during the French colonization, which explains why the Vietnamese call this treat “Da Ua” – a derivative of French “yaourt”. Vietnamese-style yogurt consists mainly of fresh milk, condensed milk, and a sort of starter culture.
It usually doesn’t contain a thickening agent, such as agar agar or gelatin, resulting in a more liquidy texture than the typical yogurt found in the States. As for the taste, sữa chua is tangy yet sweet, making it a great choice for serving with a plethora of fruits, nuts, and cereals.
One unique thing about sữa chua in Vietnam is that people usually enjoy it as a healthy after-meal treat. You can also combine it with the famous Vietnamese coffee to make sữa chua cà phê. If you haven’t thought of having yogurt for dessert before, I highly recommend giving it a try!
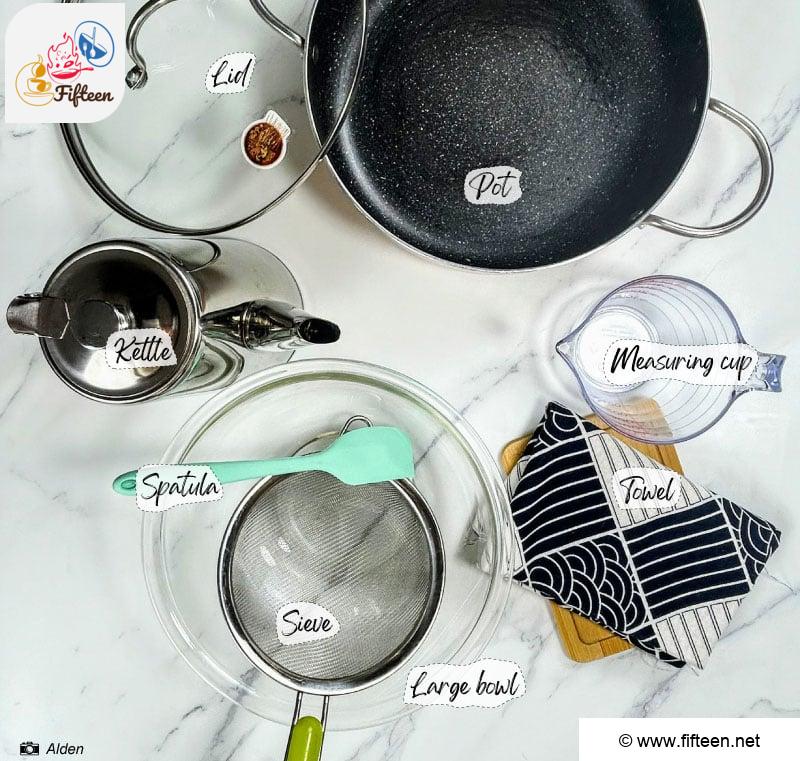
Essential Tools for Sữa Chua Making
When it comes to homemade yogurt, a yogurt maker is often necessary. However, you don’t need one for whipping up sữa chua! A large pot, some yogurt jars, and a few other basic kitchen tools will do the trick.
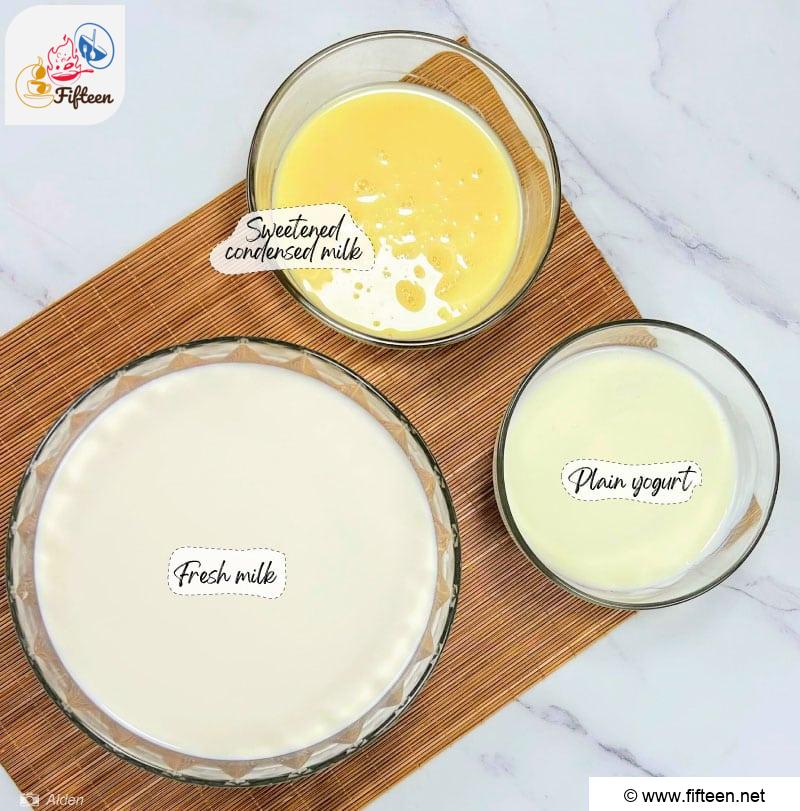
Simple Ingredients to Make Perfect Sữa Chua
Here are the only 4 ingredients you’ll need to make a large batch of sữa chua.
Simple Directions to Master Tasty Sữa Chua
First and foremost, all the tools used for making yogurt must be cleaned and sterilized with boiling water in advance to ensure food safety. Once everything is ready, follow these steps.
Step 1: Make The Yogurt Mixture
If your milk, yogurt, and condensed milk have been sitting in the fridge, take them out and let them come to room temperature.
Pour the condensed milk into a large mixing bowl. Then, add ¼ cup of warm water (about 160 – 170 degrees F) and stir well.
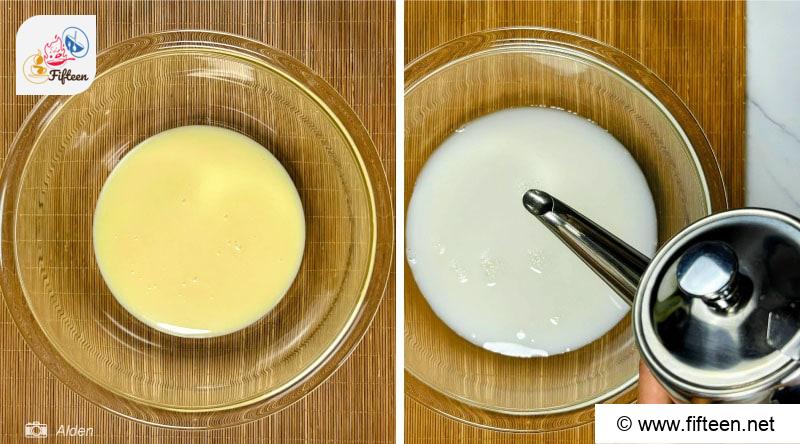
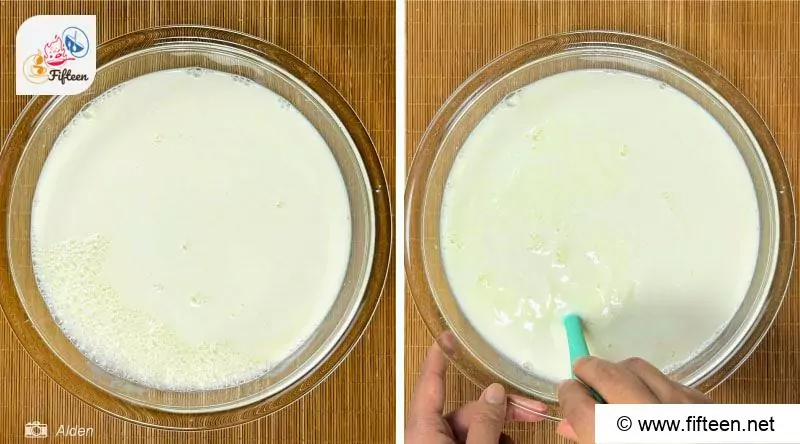
Add the milk and plain yogurt to the bowl and continue to stir. Note that you should stir gently in one direction so that the ingredients combine better, thus leading to a smoother fermentation process.
Pass the yogurt mixture through a sieve. Doing this will result in smoother and tastier yogurt after incubating. You can skip this step if you use drinking yogurt as the culture.
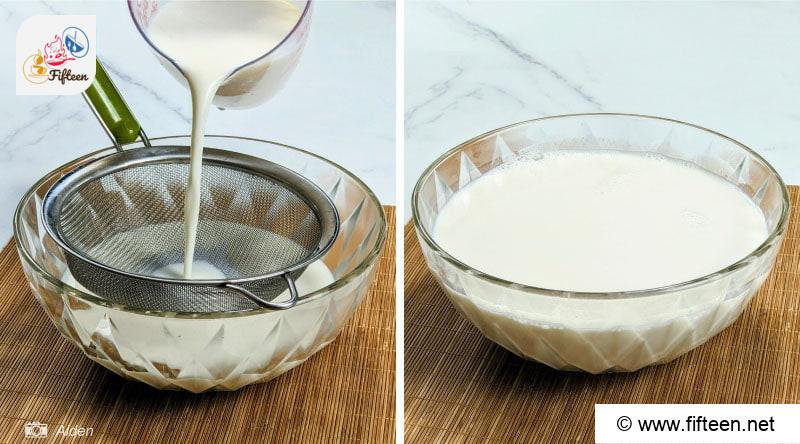
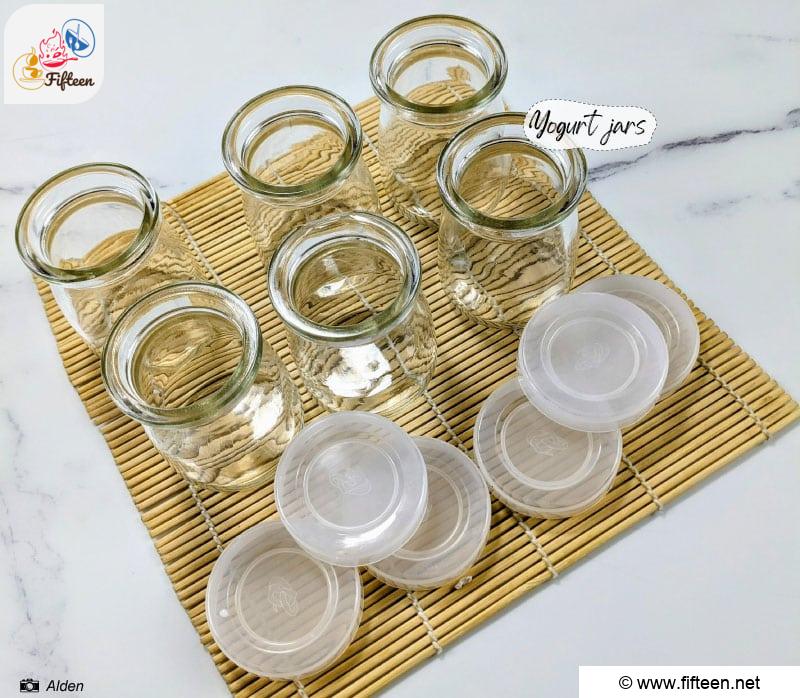
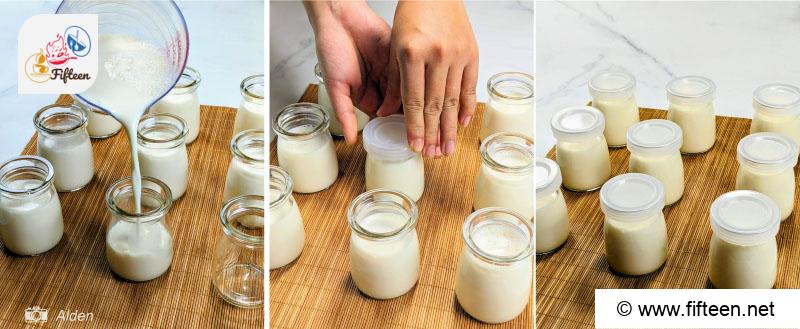
Step 2: Pour The Yogurt Into Jars
After straining, pour the mixture into the prepared yogurt jars. Close the lids securely to prepare for the incubation step.
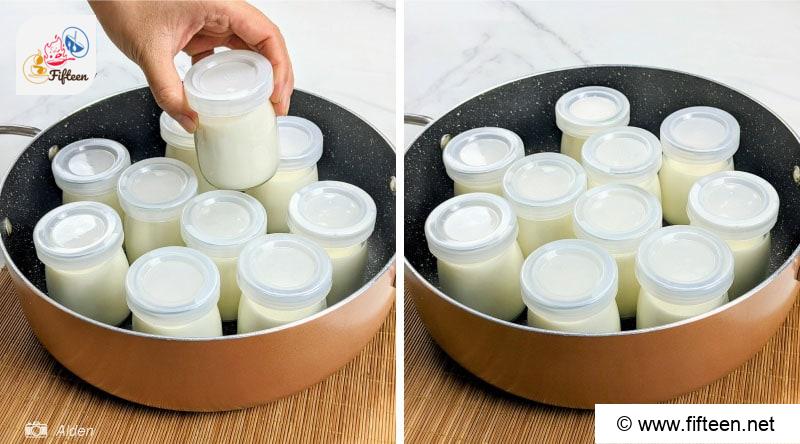
Step 3: Incubate The Yogurt
Put the yogurt jars into a pot.
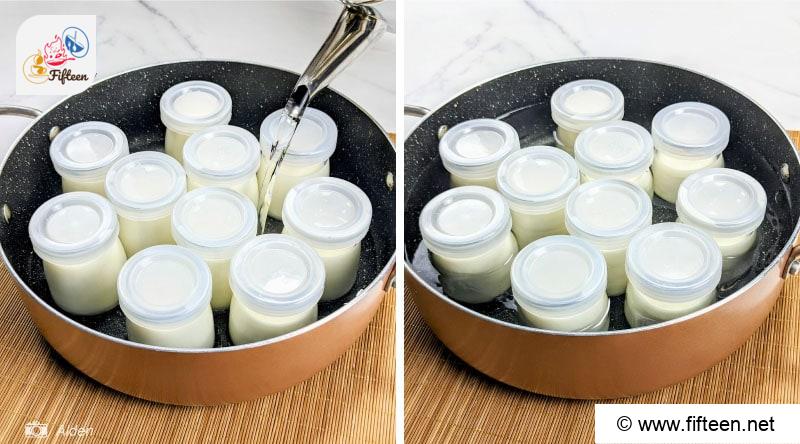
Pour warm water (about 100-120 degrees F) into the pot to create a water bath for the yogurt. The water should touch no higher than the jar necks to prevent it from entering the jars.
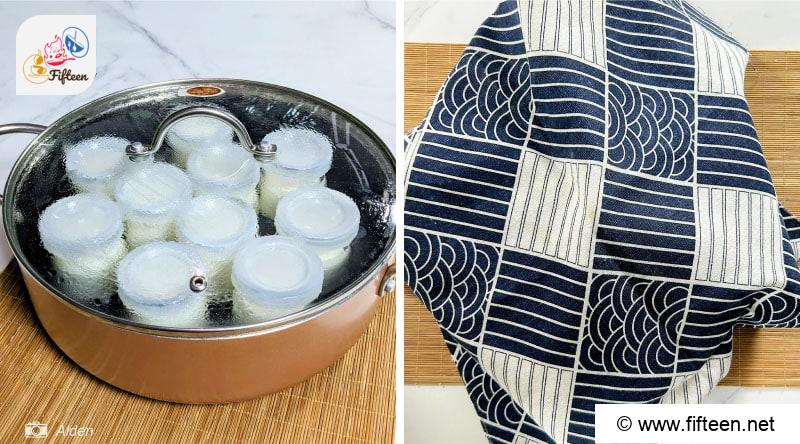
Put the pot’s lid on and cover it with a towel. Incubate the yogurt for 6 to 8 hours.
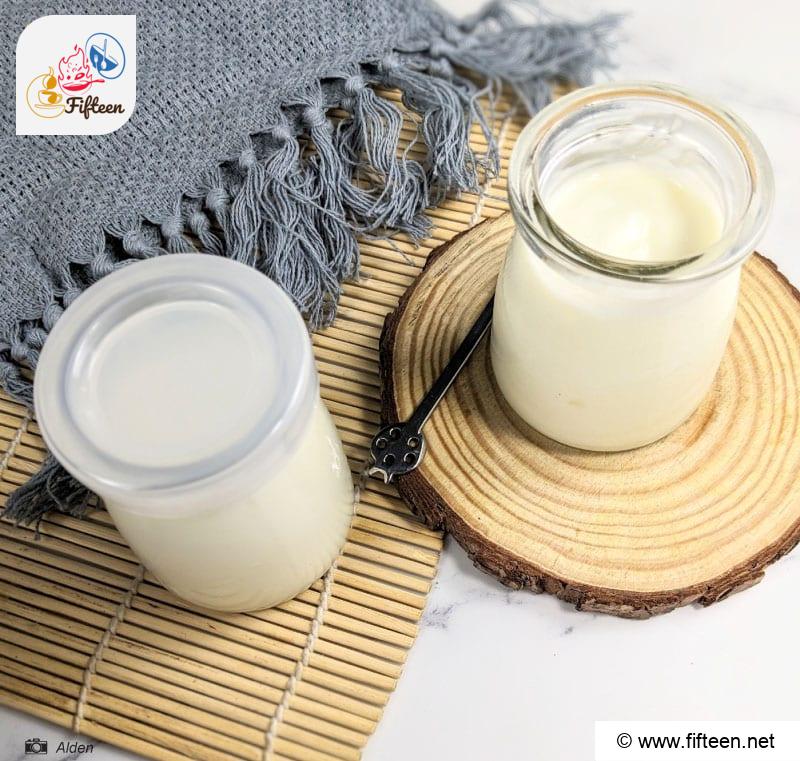
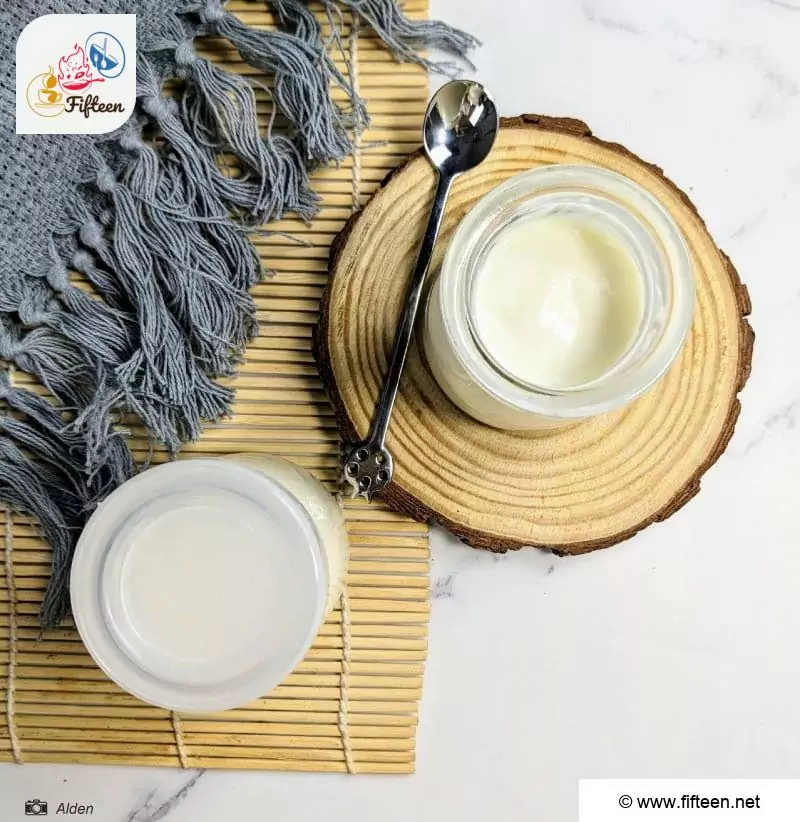
After incubating, take the yogurt jars out of the pot and wipe them dry. Then, refrigerate the yogurt for 1 to 2 hours and enjoy!
Important Notes To Remember
Making Vietnamese sữa chua is super easy, right? That said, there are a few notes that you shouldn’t miss.
Stay Healthy And Happy With Vietnamese Yogurt
Vietnamese yogurt is an excellent choice for a quick morning meal, snack, and dessert. Not only does it have an addictive taste, but it’s also incredibly healthy and a rich probiotic source. With today’s recipe, I believe that making your own sữa chua will no longer be a challenge.
To enjoy sữa chua to the fullest, you can pair it with fruits (my favorite is apples), cereal, and nuts. If your first batch of Vietnamese yogurt came out delicious, don’t forget to leave a comment and share this recipe with others. Thank you so much for reading!
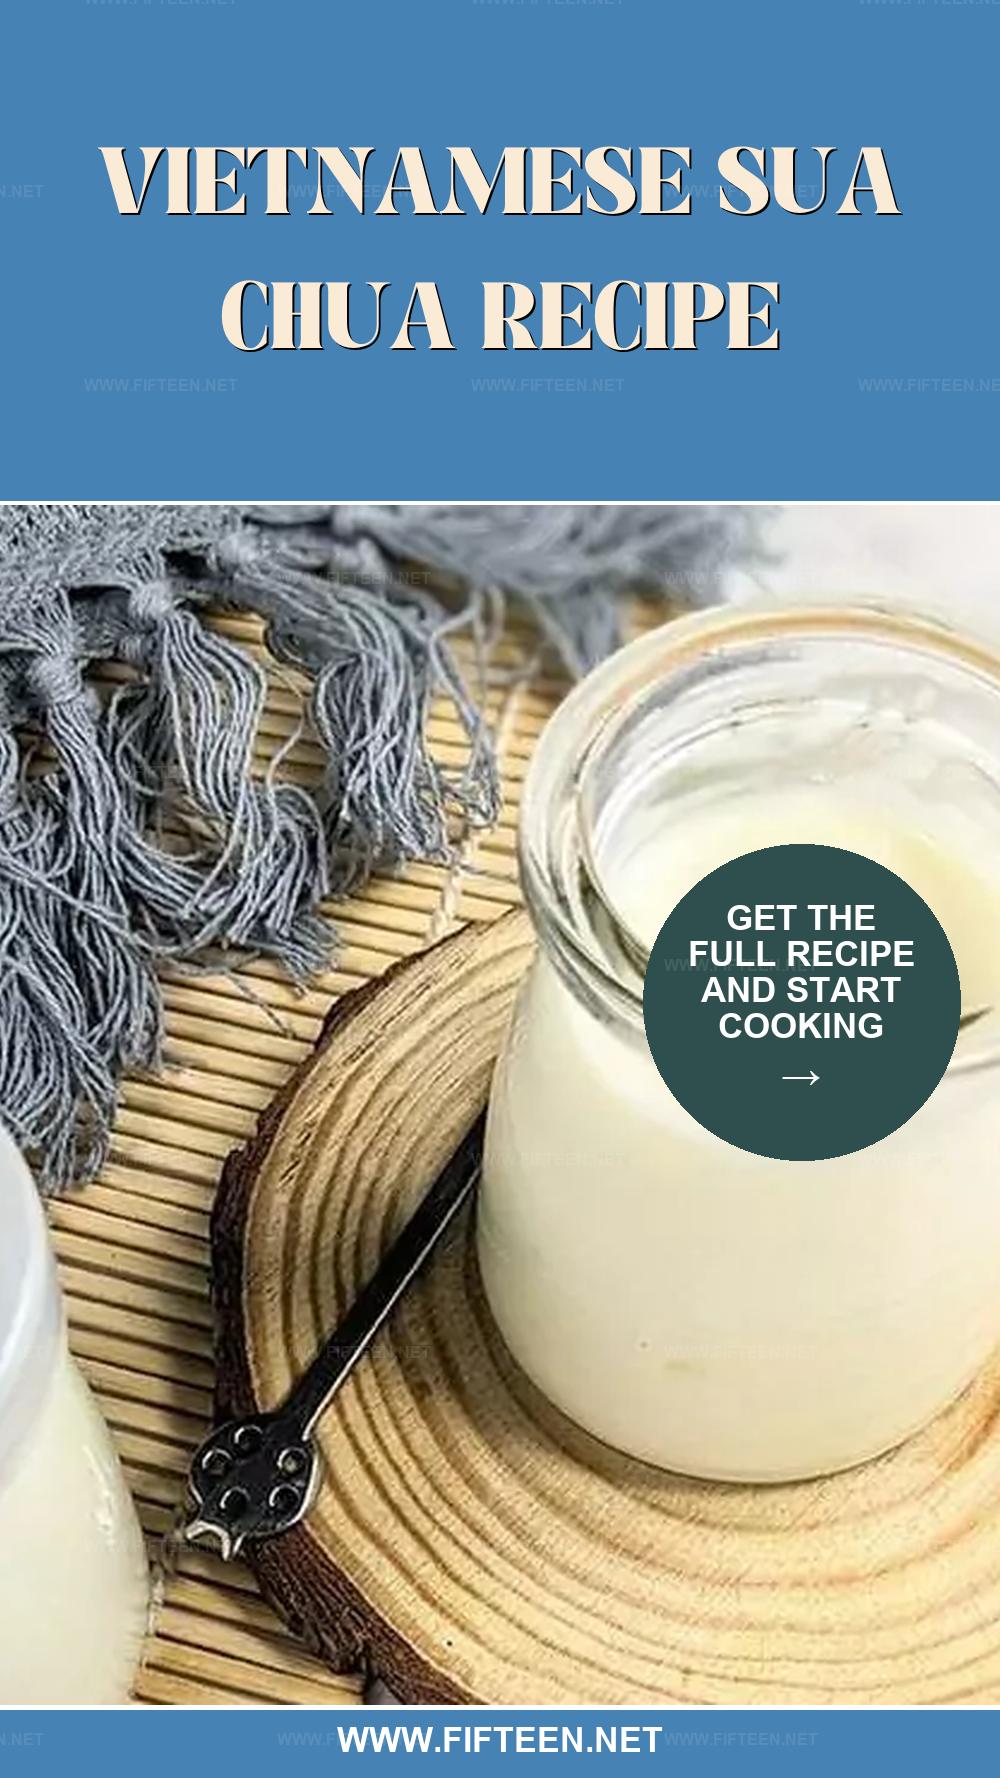
Sữa Chua Recipe (Vietnamese Yogurt)
Equipment
- Sieve
- Pot with lid and towel
- Spatula
- Measuring Cup
- Kettle
- Yogurt jars
Ingredients
- 4 cups of fresh milk
- 1.33 cups of sweetened condensed milk
- 3.5 ounces of plain yogurt
- 0.25 cup warm water
Instructions
- Pour the condensed milk into a large mixing bowl. Add some warm water (about 160 – 170 degrees F) and stir well.
- Add the milk and plain yogurt to the bowl and continue to stir gently in one direction.
- Pass the yogurt mixture through a sieve.
- After straining, pour the mixture into the prepared yogurt jars. Close the lids securely.
- Put the yogurt jars into a pot.
- Pour warm water (about 100-120 degrees F) into the pot to create a water bath for the yogurt. The water should touch no higher than the jar necks.
- Put the pot's lid on and cover it with a towel. Incubate the yogurt for 6 to 8 hours. After incubating, take the yogurt jars out of the pot and wipe them dry. Refrigerate the yogurt for 1 to 2 hours. Enjoy!
Video
Notes
- The total time is for making 20 jars (3.5 ounces each) of yogurt.
- You should keep the water bath at about 100 to 120 degrees F.
- If you run out of plain yogurt, drinking yogurt is a viable alternative.
- You can use a yogurt maker or a rice cooker to incubate the yogurt.
- Feel free to add more condensed milk if you prefer a sweeter flavor.
- Adjust the amount of condensed milk if the milk or yogurt starter contains added sugar.
- You can store homemade Vietnamese yogurt for up to 2 weeks in the fridge.
Nutrition
Tien – Alden
Content Writer
Expertise
Home Cooking, Recipe Development, Food Editor, Beverage Editor, Cooking-video Maker, Asian Food Content Creator
Education
Saigon Tourism College
Advanced Culinary Workshop, Beijing
Vietnamese Traditional Cooking School
American College of Vietnam
Alden is a skilled chef with expertise in Asian cuisines, known for blending traditional Vietnamese and Chinese cooking with contemporary innovations. Alden’s passion for Asian flavors and her creative approach to both food and beverages inspires fellow chefs and those aspiring to enter the field.